Aug 26, 2011

FOTD Friday - Playing with Photoshop

Happy Friday Beauties!!

My poor #1 son is sick, so while he is sleeping and recuperating I snatched a little time to post :)

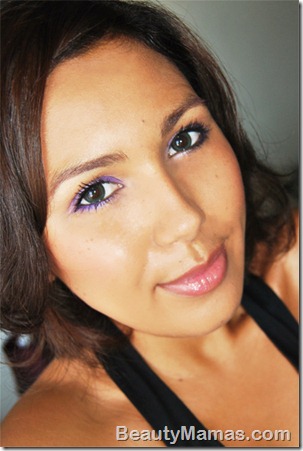
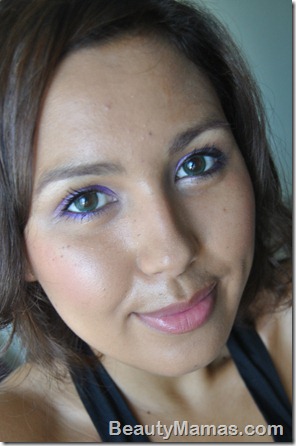
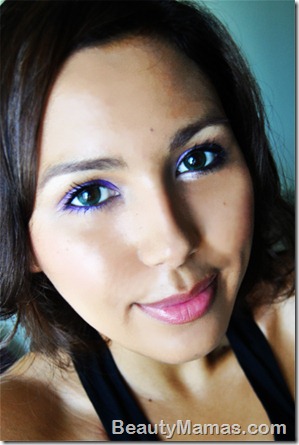
Lately I've been playing with photoshop (mostly out of vanity/fun... somewhat for professional interest!) and manipulating images to make them look 'like me but better'. It's not something I plan to do all the time (takes way too long) but it's fun and I am liking the results.

Of course, if I am reviewing a product then I wouldn't photoshop anything that affects the readers perception of that product (such as photoshopping blemishes when I'm reviewing a foundation.. or photoshopping extra lashes when reviewing a mascara!). That would be counterproductive and deceptive to you guys and I definitely don't want to fool anyone. I'm basically doing this for fun :)

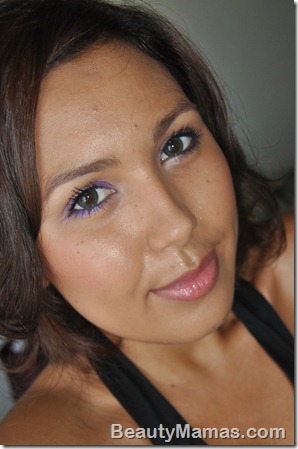
Anyway, here are some pictures I have been playing with!
 

DSC_0022OliveWingGreen2

DSC_0021OliveWingGreen


It’s kind of like that ‘spot the difference’ game…

Products used -


Face:
Missha Perfect Cover BB Cream, # 31
Hello Kitty Memoirs of a Kitty palette, peach blush

Eyes:
Urban Decay Primer Potion, Sin
Urban Decay Eyeshadow, Flash
Urban Decay Eyeshadow, Snatch
Urban Decay 24/7 Glide on Eyeliner, Zero
e.l.f. Studio Eyebrow Treat & Tame, Medium


Lips:
NYX MegaShine Lipgloss, Lala


I’m wearing my new Geo/Olive Wing green lenses in these photos, which I will be reviewing soon! They are subtle but really pretty :)

What do you guys think of photoshopping on blogs? I think if you’re reviewing a product then you should not do any photoshopping of that specific feature, but I don’t see anything wrong with photoshopping blemishes on your forehead when you’re reviewing lipgloss. I think it’s fun, but I don’t think I’d have the patience to do it all the time, like some of the bloggers I follow (like Cheesie and Xiaxue).

Let me know your thoughts!

Ishah xx

Beauty Blogazon Roundup - August 14 - 20


Cosmetically Challenged Ricky Wilson Dior Celebrity Makeup Artist Fall into the Blue Contest

Midnight Manicures  Zoya's Neeka

Beauty Thesis  Bright & Smokey? Face of the Day: Dollypop Anime

Polish Pauper-OPI at Cosmoprof left me Warm & Fozzy

Kewt-ified Nails  OPI Shimmer into Summer Swatches!

Royal Beauty Designs Urban Decay 15th Anniversary Eyeshadow Collection FOTD Step by Step look

Daily Polish  Daily Polish debuts her first ever Face of the Day!

Nails and Noms - Layering Experiment No. 5: I Like by Essence & Servin' Up Sparkle by OPI

Purpleeye Diamond Sugarpill swatches & review

Beauty and Fashion Tech  MAC Me Over Swatches

Girl Gloss How To Choose The Best Sunglasses For Your Face Shape

Beauty Mamas How to be a Gyaru on a Budget: Circle Lenses - Puffy 3 Tone Grey

Glitter.Gloss.Garbage Fall Lip Trend- Bold Red Lips

Addicted To All Things Pretty  Is Tracee Ellis Ross Proudly Sporting a Fake Birkin?

Nailfiled Zoya Valerie Swatches

Aug 19, 2011

G&G/Dueba Puffy 3 Tone/Shinny Grey Circle Lens Review

Hey Beauties!

I recently bought two new sets of circle lenses from Kiwiberry1’s Collection. They were having a 40% off sale, so I decided to go for more vibrant colours than my first circle lenses purchase. If they didn’t look great, at least I wouldn’t have bought them at full price!

This is one of the pairs, G&G/Dueba Puffy 3 Tone Grey, also known as Shinny Grey.

Colour: Grey
Dia: 14.5 mm
Base: 8.6
Water: 38%

Disposable: 1 year
PLANO


Sorry about the weird disparity of skintone here… The first pic was taken when I was less tan.


I absolutely LOVE these lenses, they are super pretty and vibrant without looking too fake. The pattern is gorgeous, I love how it fades into my natural brown. The size is 14.5mm which is bigger than my Honey Wing lenses, but not super huge. I think they give a nice, natural looking enlargement and are comfortable enough to wear all day. I only needed to put eye drops in twice throughout the whole day and I usually have quite sensitive eyes.


Overall:
Pros:
  • Comfortable, easy to wear for long periods
  • Beautiful pattern
  • Quite vibrant and opaque
  • Natural looking enlargement
Cons:
I can’t think of any!! I love these lenses :) The only reason I can think of that you may not like them is if you are looking for super huge, super fake looking dolly eye lenses. These are more natural looking.

I think I paid around $12 each (with 40% off) for the lenses + $7 s&h. The s&h is a $7 flat rate up to $149.99 and orders over $150 ship free. You also get a free lense case with every pair of lenses. Normally the Puffy 3 Tone lenses are $20 which is still quite cheap compared to other suppliers. They don’t seem to have the Grey in stock at the moment, but hopefully they will restock soon! I also want to try the Aqua and Green.

Kiwiberry1’s Collection ships from the US, and also ships internationally (US$10 flat rate). Shipping was fast, it was less than a week from ordering that I received the lenses. I would definitely order from them again.

What do you think of grey lenses?

Ishah xx

Aug 10, 2011

Beauty Blogazon Roundup July 31- August 6


Some great beauty and nail polish posts by the Beauty Blogazons :)

Beauty Info Zone  Side by Side - Annmarie Giannia Skincare 
TheItColor  SnakeSkin Nail Tutorial
Style Eyes Review Sephora Instant Moisture Mask 
Nailfiled Newspaper Mani x Color Club French Tip
Painted Pixies Blissful Euphoria 
Bookworm Nails Elegant Chinese court ladies nail art 
Daily Polish  OPI's Fresh Frog of Bel Air from the Muppets Holiday Collection!
Mad Manis  Take Two: Wedding Appropriate French Manicures
Life and Polish  Essie Ruby Slippers
Beauty Mamas  Candy Doll Lip Concealer Review
 Royal Beauty Designs  Product Battles:  Laura Mercier vs. Elf Tinted Moisturizer
Midnight Manicures Barielle's Summer 2011 Karma Collection - Part 1
Glitter.Gloss.Garbage MAC Opulash Optimum Black Before and After
Addicted To All Things Pretty Brown Girl's Tan Too!

Aug 3, 2011

Review: Candy Doll Lip Concealer from eki’s blog sale!

Hey Beauties!

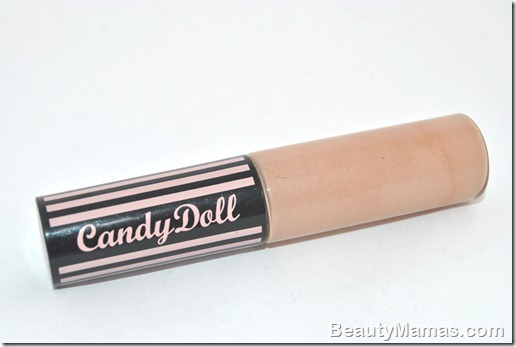
A while ago I bought this Candy Doll lip concealer from Eki's blog sale. This is my first Candy Doll product and I was super excited about it since I am a gyaru ‘fan’ lol :)

I have been wanting to try a lip concealer for a while now because my lips are pretty pigmented naturally and sometimes lip gloss or lipsticks will look different on my lips than in the tube. This gets really frustrating when I buy something based on the tube or swatch colour and then it looks different on.

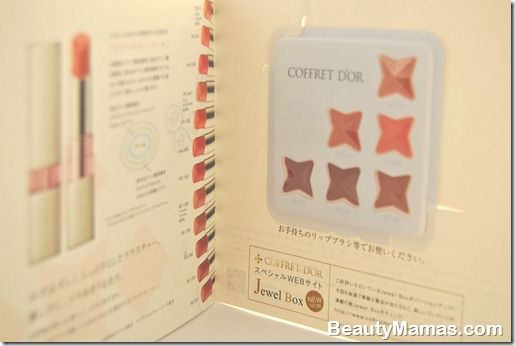
Eki is so lovely, she included this cute note and some samples for me!


DSC_0210


DSC_0300


Here’s the lip concealer on the Candy Doll website. It’s in Japanese, so either you should know how to read Japanese or you can bust out the Google Translate.. I give no guarantee that the translation will make perfect sense.

Ingredients: Daimajirinoreiru Daimajirinoru acid, polyglyceryl Toriisosutearin -2, isotridecyl isononanoate, Okuchirudodekanoru acid Daimajirinoru (phytosteryl / Isosuteariru / cetyl / stearyl / behenyl), (behenate / 2 eicosanoic acid), glyceryl, synthetic wax, Kyanderirarouesuteruzu, Karunaubarou, polyglyceryl -6 Poririshinorein, chamomile flower extract, squalene, jojoba oil, macadamia nut oil, grape seed oil, citrus unshiu peel extract, palmitoyl oligopeptide, palmitic ethylhexyl, Toribehenin, sorbitan isostearate, tocopherol, simethicone, Propylparaben, BG, dimethicone, phenoxyethanol, titanium dioxide, iron oxide, hydroxide Al, boron nitride, mica, talc


The lip concealer comes in pretty standard plastic packaging with the Candy Doll logo on the lid. Not super cute, but not ugly either.


DSC_0497

Aug 1, 2011

Manicure Monday: Gel manicure & nail art.

Hey Beauties! Long time no post, I know.. It’s been crazy in the House of Beauty Mama lately! I have a lot of products to review, including a new BB Cream, some Dolly Wink products and new circle lenses! So stay tuned in the next few weeks.

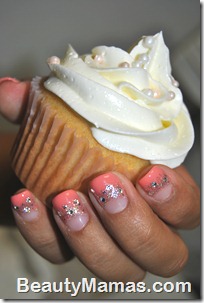
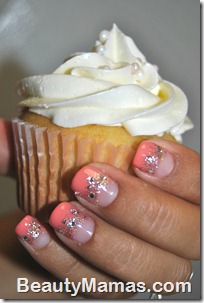
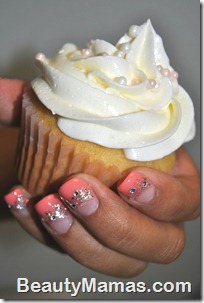
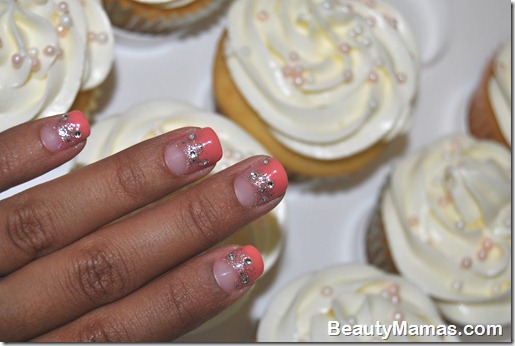
My lovely friend Mai does gel manicures and beautiful nail art, so I asked her to do mine in exchange for dinner ;)

She used BellaForma for the base and top coat and the salmon pink colour is CalGel. She said it usually takes 2 hours, but it took a bit longer because we were talking the whole time, hehe :) She did a basecoat, cured for 3 minutes under UV light, then I think 2 coats of the salmon pink, each coat cured for 3 minutes, then she did the glitter and a coat of topcoat and put the rhinestones on (cured again for 3 minutes) then another coat of topcoat (cured for 3 minutes). The best part is, it’s fully dry after curing so no worries about ruining your mani!

DSC_0658

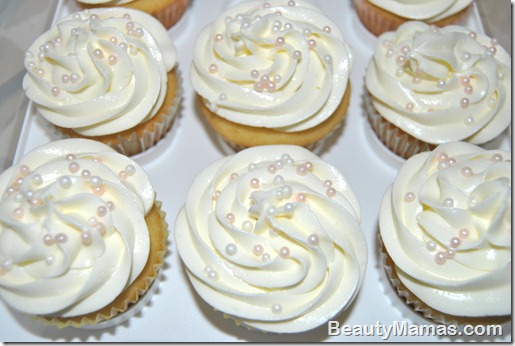
Mai brought these super cute cupcakes so I did a mini photoshoot with my new mani!

DSC_0633

DSC_0650DSC_0648DSC_0645

DSC_0638


The manicure lasted about 8 days with no chipping or peeling and would have lasted longer but I kept picking at the rhinestones and ended up peeling the gel off myself =_=.. Next time I will exercise more self control.

It’s soak off gel, so it was less harsh on my nails and they didn’t split or peel or feel brittle after removal. I loved the whole experience and will definitely get a gel manicure again! I really want to learn how to do it myself, so hopefully Mai will teach me :D

Have any of you had any good/bad experiences with gel? Are you thinking of trying it out?

Ishah xx
Related Posts Plugin for WordPress, Blogger...